
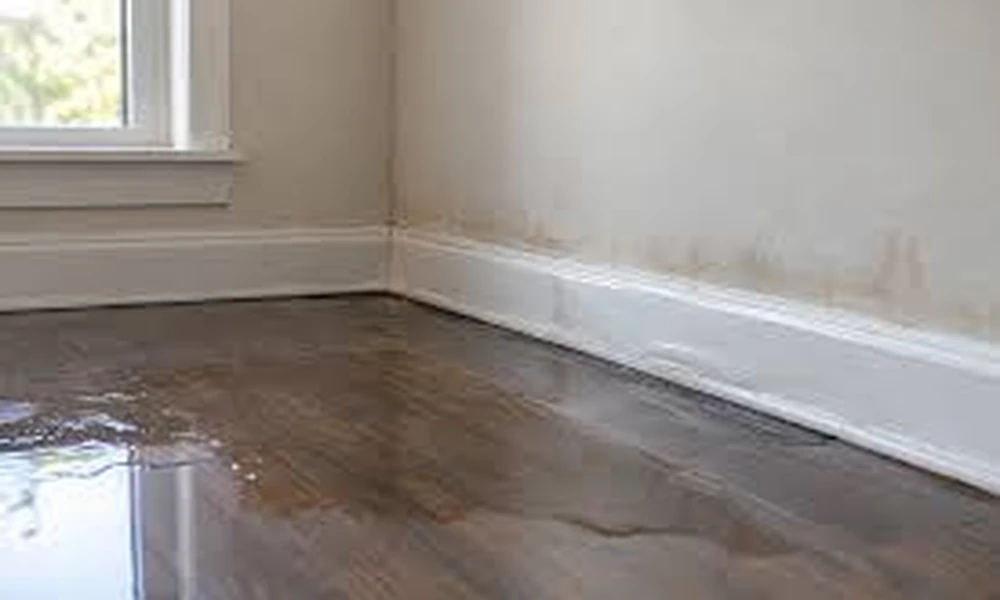
Water damage is a race against the clock. Within the first day or two, the difference between a manageable cleanup and a major rebuild is often how quickly the water is stopped, removed and the structure dried. If you need professional help with water damage restoration in Athens, knowing what to do before the crew arrives can limit the damage and protect your insurance claim. This guide covers the first 48 hours step by step, explains how restoration professionals classify water damage and describes what proper drying involves.
Why 48 Hours Matters
Building materials absorb water quickly, and damp conditions allow mold to begin growing. The U.S. Environmental Protection Agency’s guidance on flood cleanup and indoor air quality stresses that completely drying the home and removing water-damaged items are the critical tasks, and it recommends cleaning and drying wet materials within 24 to 48 hours. That window is a guideline, not a guarantee. Mold does not always appear after 48 hours, and it can sometimes develop sooner, but the longer materials stay wet, the more likely it becomes.
In the humid climate of northeast Georgia, where indoor air is often already damp, drying is harder and delays carry more risk.
Step One: Make the Situation Safe
Before you worry about the water, check for hazards.
- Electricity. If water has reached outlets, appliances, wiring or the electrical panel, turn off power to the affected area at the breaker if you can do so without standing in water. If the panel itself is wet or you are unsure, call an electrician or your utility.
- Gas. If you smell gas, leave the building and call the gas company or emergency services from outside.
- Structural concerns. Sagging ceilings, bulging walls or soaked floors can be unsafe. Stay out of rooms where a ceiling holds water and avoid walking under it.
- Slipping hazards. Wet floors are slick, and standing water may hide hazards.
- Contaminated water. If the water may be contaminated, keep children and pets away and wear protective gear.
Step Two: Stop the Source
Find and stop whatever is causing the water, if you can do it safely. For a burst pipe or failed appliance supply line, shut off the water at the fixture’s valve or at the main shutoff. For roof leaks, a temporary cover may help once the weather clears and conditions are safe. If the water came from outside, such as flooding or storm runoff, the first step is waiting until it is safe to enter and the water level has dropped.
Step Three: Know What Kind of Water You Have
Restoration professionals classify water by contamination level, which determines how it must be handled. The industry’s categories are widely used:
- Category 1 (clean water): Comes from a sanitary source such as a broken supply line, a leaking faucet or rainwater entering through a roof. It can degrade into a higher category if left untreated.
- Category 2 (gray water): Contains some contamination, such as water from a washing machine, dishwasher or toilet overflow without feces. It can cause illness if consumed or contacted.
- Category 3 (black water): Highly contaminated and may carry bacteria and other pathogens. Examples include sewage backups, river or ground-level flood water and standing water that has been left for a long period.
Category 2 and 3 water should be handled by trained professionals. Porous materials such as carpet, padding and drywall that have been exposed to Category 3 water generally cannot be saved and must be removed and discarded.
Step Four: Document Before You Move Anything
Insurance claims depend on evidence. Before cleanup, photograph and video the damage thoroughly, including the source of the water, standing water, affected walls, floors and ceilings, damaged belongings and any visible moisture or staining. Make a list of damaged items with approximate age and value. Keep receipts for emergency expenses, such as temporary repairs and lodging, and note dates and times.
Contact your insurance company promptly to report the loss, ask about your policy’s coverage and learn what steps it requires, including how quickly you must report and whether you need an adjuster’s approval before certain repairs. Water damage coverage varies widely, with gradual leaks and flooding often treated differently from sudden burst pipes, so read your policy or ask your agent.
Step Five: Remove Standing Water and Wet Items
If the water is clean and the amount is small, you can begin removing it.
- Use a wet vacuum, mops or towels to remove standing water, and avoid using household vacuums on water.
- Move furniture and belongings out of the wet area, or lift furniture onto foil or blocks to keep legs from staining wet carpet.
- Remove rugs, cushions and loose items to dry elsewhere.
- Open windows and doors if the weather and outdoor humidity allow, and run fans to move air.
Larger amounts of water, hidden moisture in walls and floors, or any contaminated water call for professional equipment and extraction.
Step Six: Be Careful With HVAC and Electronics
Avoid running the heating and cooling system if it may have been exposed to water or if mold could be present, since it can spread moisture and contaminants through the ducts. Do not use electronics, appliances or electrical devices that have been wet until they have been checked. Do not use ceiling fixtures under a water-stained ceiling.
What Professional Drying Involves
Surface water removal is only the beginning. Moisture hides behind baseboards, inside wall cavities, under flooring and within insulation, so a thorough job relies on measurement and controlled drying.
- Inspection and moisture mapping. Technicians use moisture meters and thermal imaging to find wet areas, including ones that look dry.
- Water extraction. Powerful pumps and extractors remove standing water quickly.
- Removal of unsalvageable materials. Saturated carpet pads, damaged drywall, wet insulation and other porous items may be cut out so the structure can dry.
- Structural drying. Air movers and dehumidifiers circulate air and pull moisture from the structure, often over several days. Equipment is placed according to the drying plan.
- Monitoring. Technicians check moisture levels daily and adjust equipment until readings return to normal for the materials.
- Cleaning and sanitizing. Surfaces, contents and air may be cleaned, especially after contaminated water.
- Repairs and reconstruction. Once the structure is dry, damaged materials are replaced and finished.
Drying is complete only when measurements confirm it, not when surfaces feel dry to the touch.
Mistakes That Make Things Worse
- Waiting to see if it dries by itself
- Using a household vacuum on water
- Turning on power or appliances in wet areas
- Painting or covering wet materials, which traps moisture
- Using fans to blow around mold-contaminated air
- Discarding damaged items before documenting them
- Ignoring musty odors or discoloration after the cleanup
When to Call a Professional
Call a restoration company without delay if:
- The water is gray or black water, or you suspect sewage
- A large area or more than one room is affected
- Water has entered walls, ceilings or under flooring
- Wet materials cannot be dried within a day or two
- You see or smell mold
- You are not sure the structure or electrical system is safe
Choosing a Restoration Company
Look for a company that responds quickly and is available around the clock, since emergencies do not follow business hours. Ask whether the technicians are certified by the Institute of Inspection, Cleaning and Restoration Certification (IICRC), which sets industry standards for water damage restoration. Ask for a written estimate, an explanation of the drying plan, how moisture will be measured and documented and whether the company will communicate with your insurer. Confirm licensing and insurance, check reviews and be wary of anyone who pressures you to sign immediately.
Putting It Together
The first 48 hours are about safety, speed and documentation: make the area safe, stop the source, take photographs, begin removing water and bring in professionals for anything beyond a small, clean-water event. Prompt action reduces the chance of mold and structural damage and can lower the overall cost of recovery. If you are unsure what you are dealing with, treat it as urgent and get an expert assessment.